Five months before the installation of this 120-foot-long, 5-foot-tall sign on Swarthmore’s lawns, I became acutely aware of the hardships that frontline, healthcare, and essential workers were enduring to keep our communities safe through the pandemic. In contrast, many of our community members were jeopardizing the health and well-being of those very workers by breaking masking mandates and gathering guidelines. To appreciate and bring attention to the efforts of these people, I began designing this enormous public display.
Sign Planning
Over the course of the next five months, I consulted administrative staff, grounds crews, and engineering professors. I received installation permissions, design requirements, and building tips. My original idea of an interactive “gratitude garden” morphed into a standalone “thank you sign,” and the project’s initial length of 80 feet stretched to one and a half times that scale. Then, with two weeks remaining until winter break, I began construction.
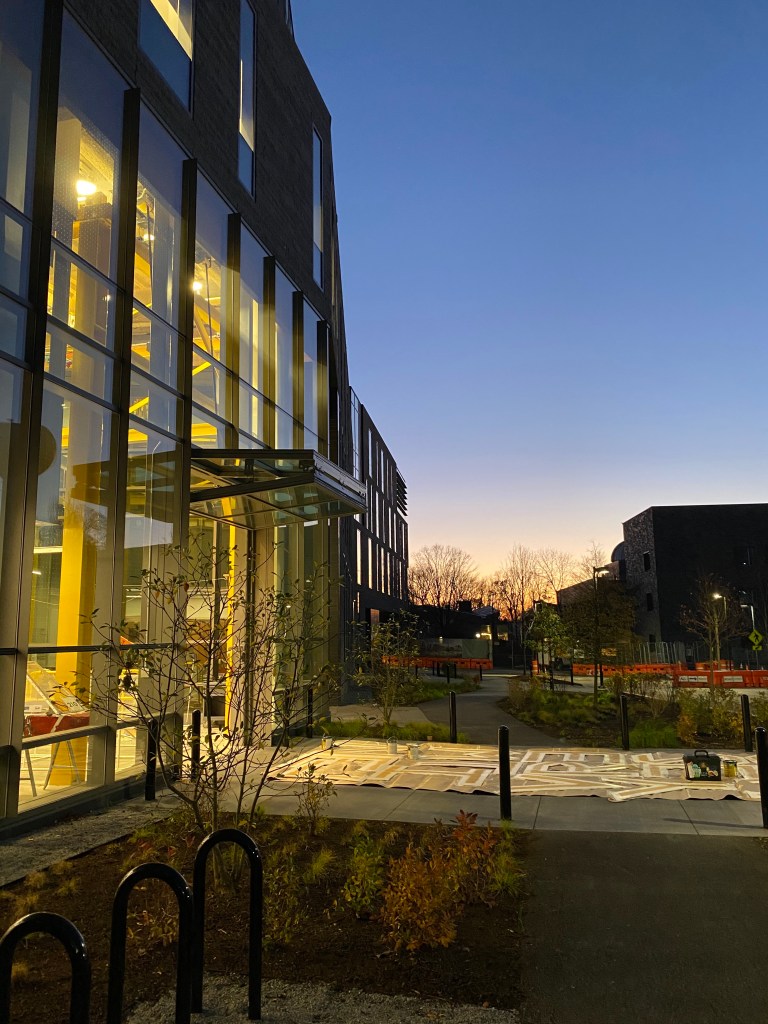
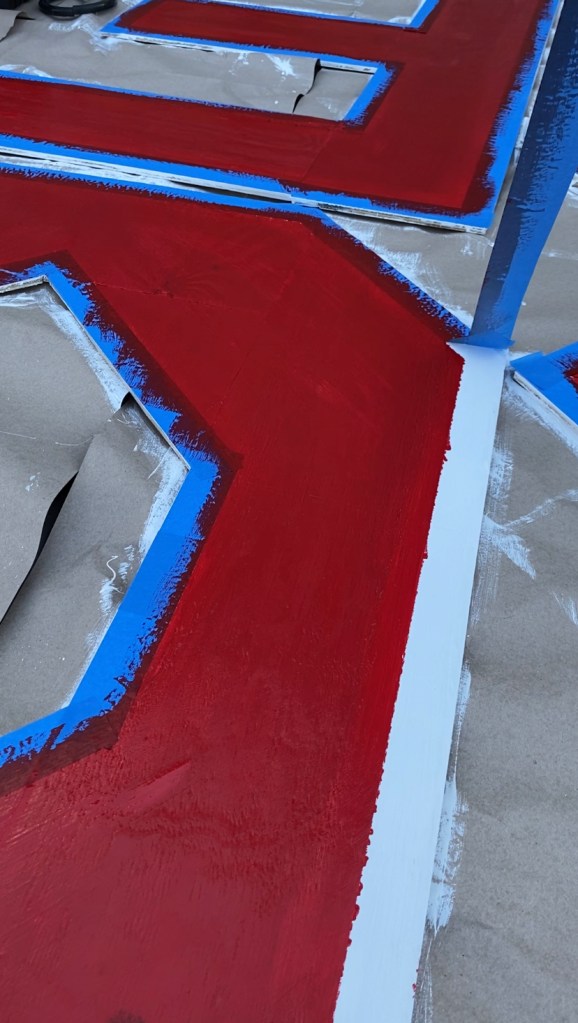
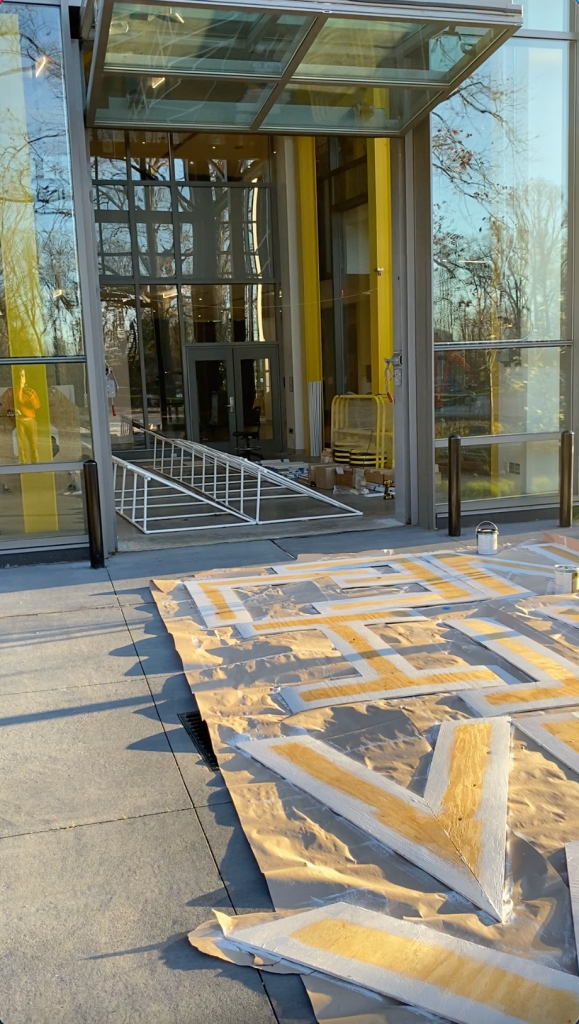
Issues came flying in from every direction. As I worked night after night, the northern winter air slowed the paint’s drying by days. Strong gusts of wind threatened to carry away the large flat wooden letters. And the sign’s backing, made of PVC pipe to lower costs, proved to be flimsy during transportation; many repairs were made between construction zones and lawns. But two weeks after the first lines were drawn, the message stood with a brazen red lettering and a white trim on the college’s front steps. “THANK YOU ESSENTIAL WORKERS.”
Design Considerations
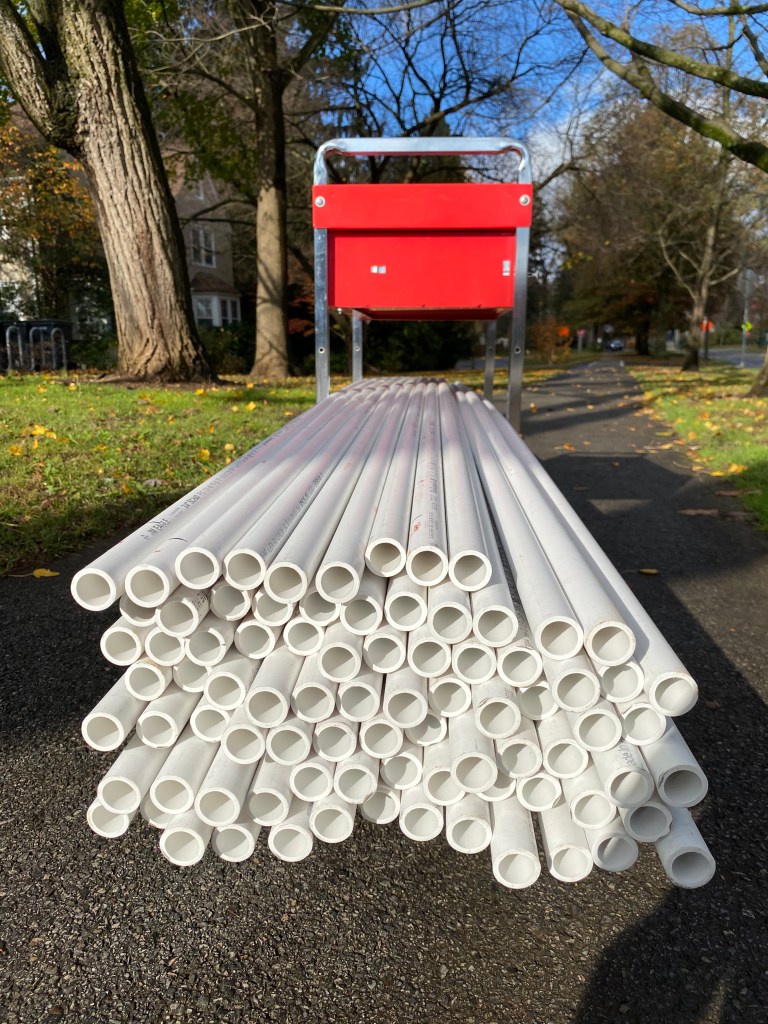
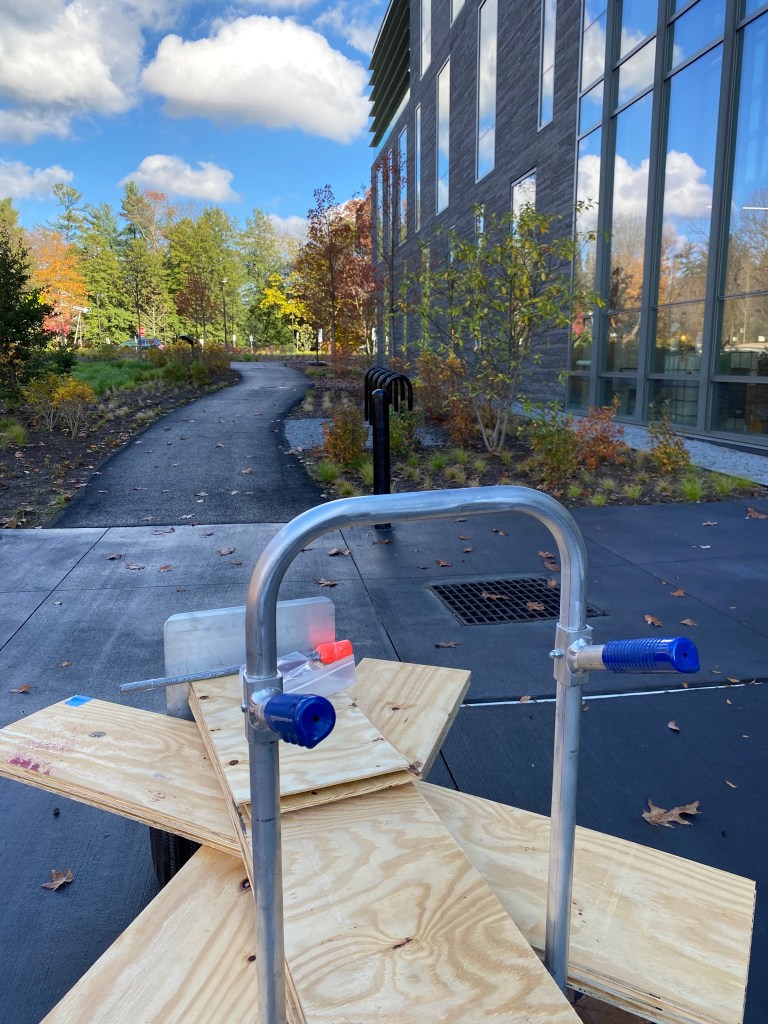
For approval by Swarthmore College’s administration and facilities, the sign had to have an 8 foot gap between words to allow lawn mowers to service the entire lawn. The sign also had to be waterproof, firmly rooted to the ground, and able to withstand strong winds as are common during northeastern autumns. To lower costs and assembly complexity on my end, I also constrained the design to be made of easily accessible materials from local retail stores— PVC and plywood seemed an obvious solution. However, the plywood’s weight and PVC’s flexibility made construction and transportation especially difficult to manage on my own. In the end, this project lasted until my final hour on campus in 2020, even with many helpful volunteers to carry supplies.
Move the slider to compare PVC connections and wooden support placement on letters.
Letters with PVC supports, front & side view.
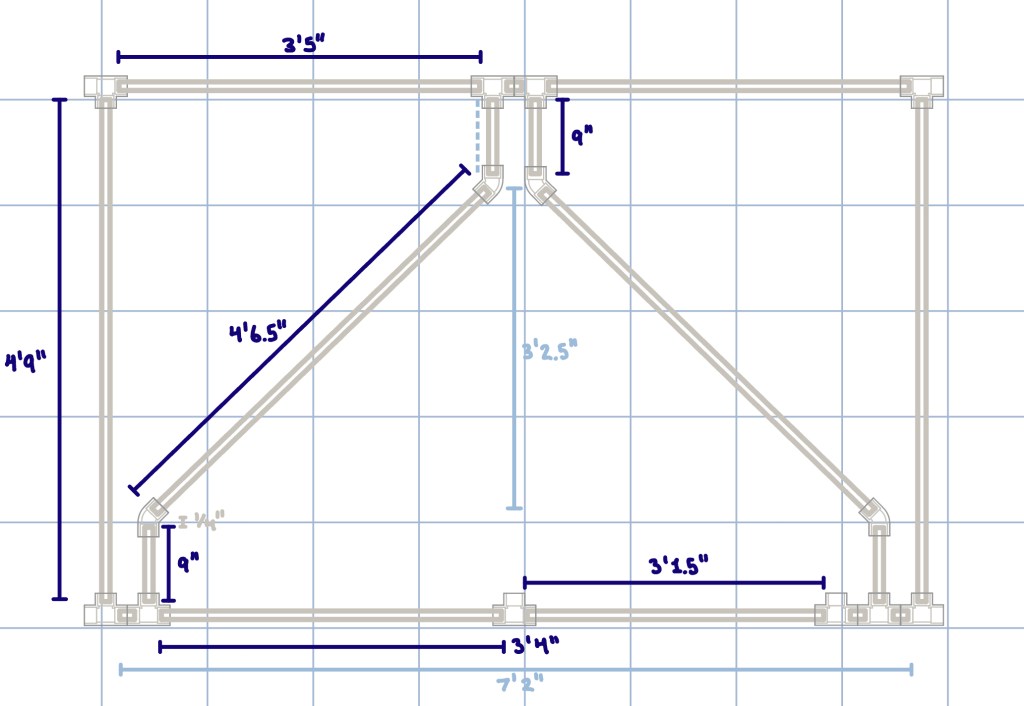
Patterned PVC support measurements.

Angled cut distances for plywood letters.
The

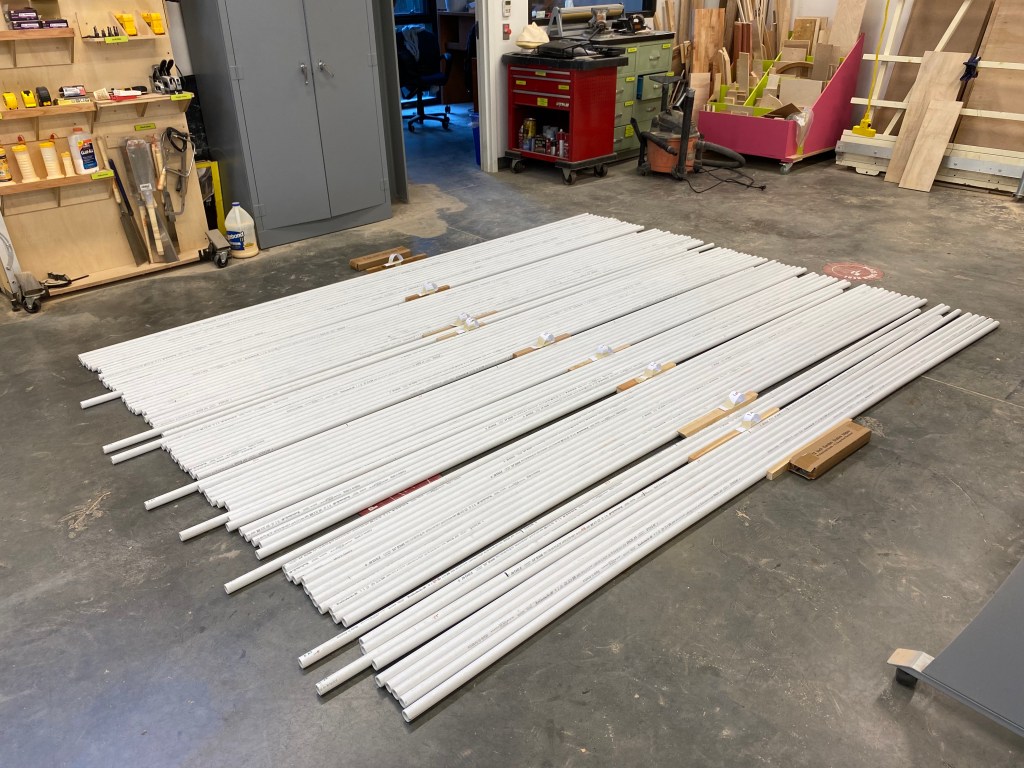
Eleven plywood sheets and 85 PVC pipes…
…according to predetermined cut patterns,…
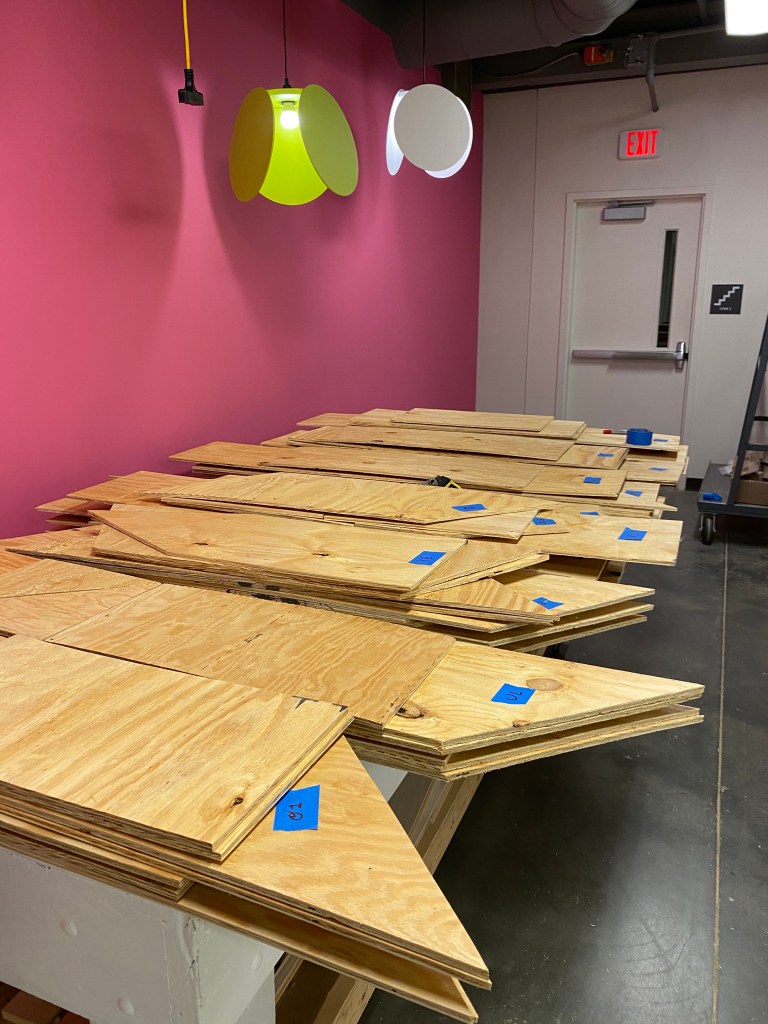
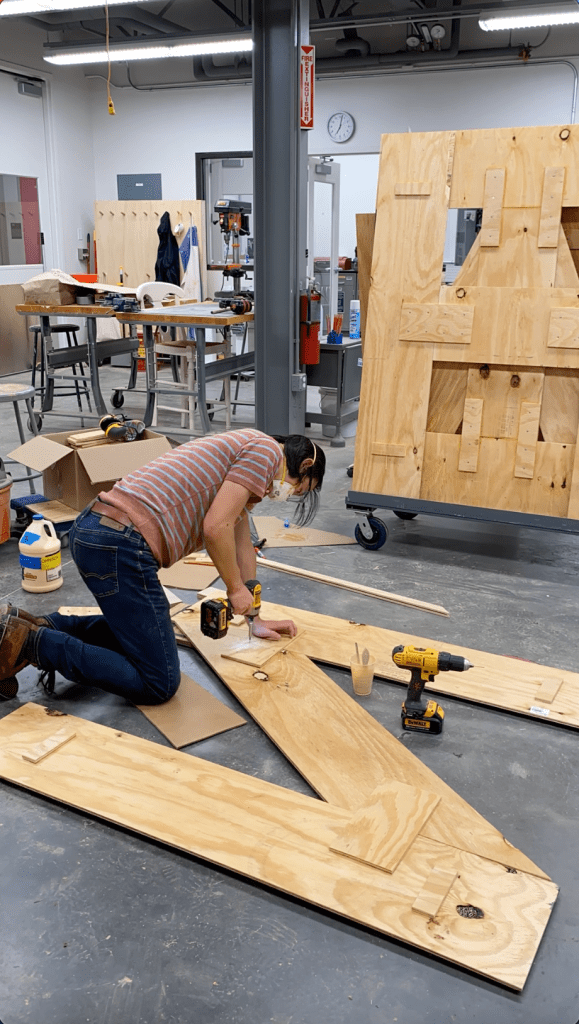
The plywood was first sorted by letters…
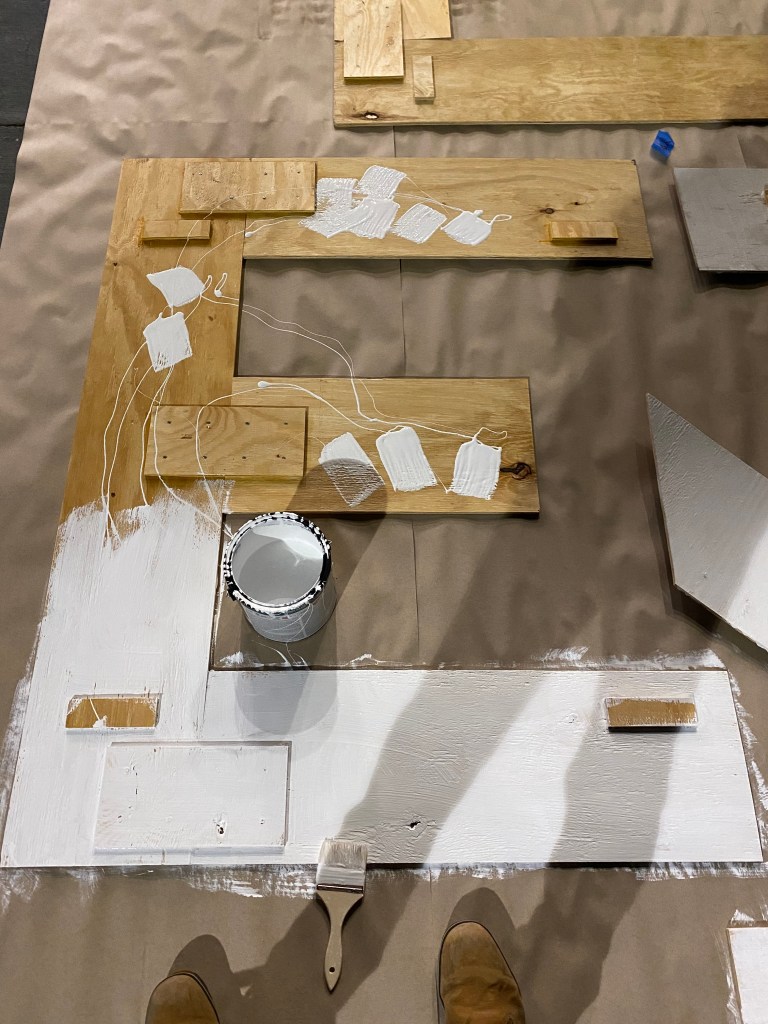
There, painting began in earnest…
After nearly a week of overnight painting…

PVC construction began! With a designated…

…final night approached, the letters were…
Assembly
…were first carted to Swarthmore College’s…

…chopped using Miter, panel, and jig saws,…
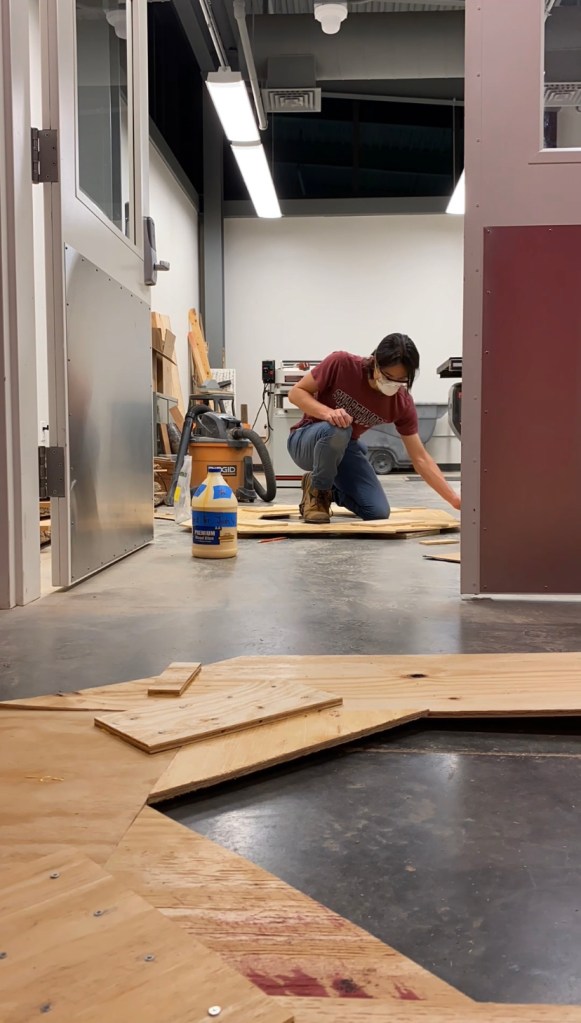
…screwed and wood glued into shape…
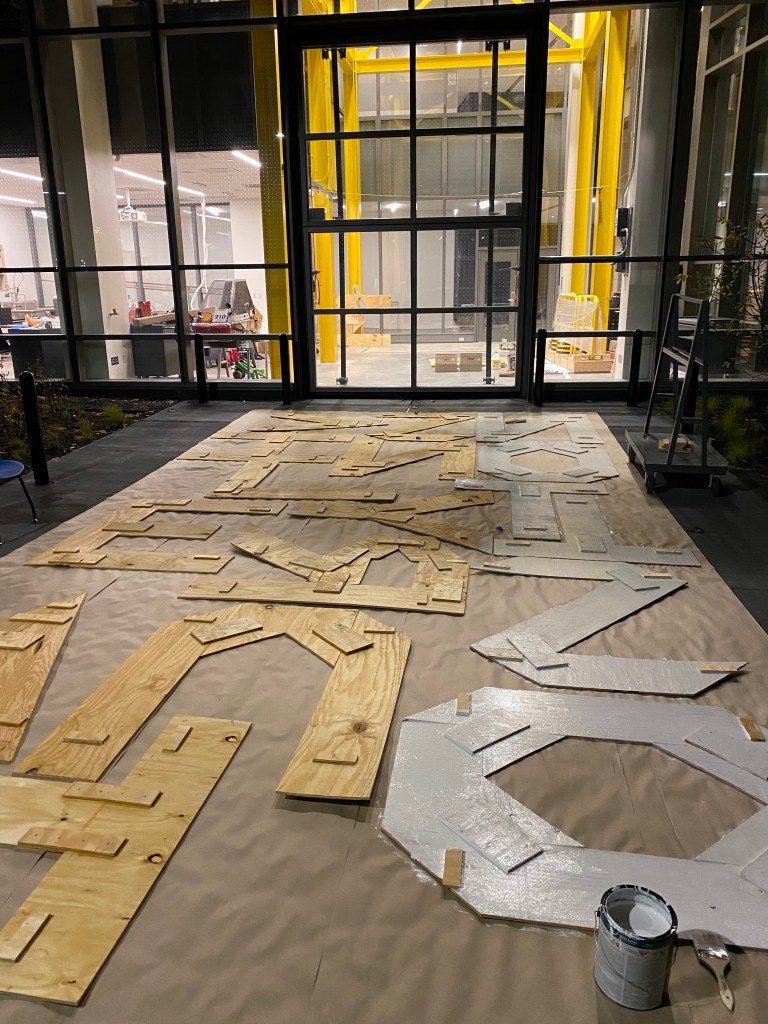
…requiring the back side to be waterproofed…
…with slow drying times due to the freezing…
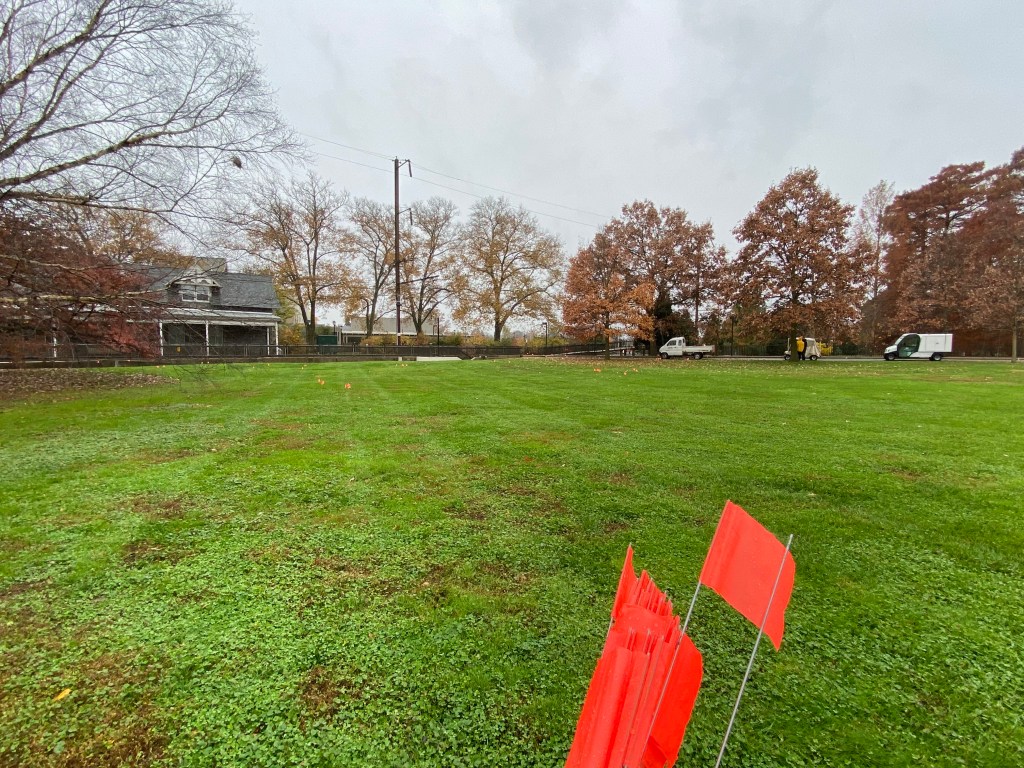
…area already flagged for use, each pipe base…

…arranged into words, and words into phrase:…
Process
…Makerspace, where they were sorted…
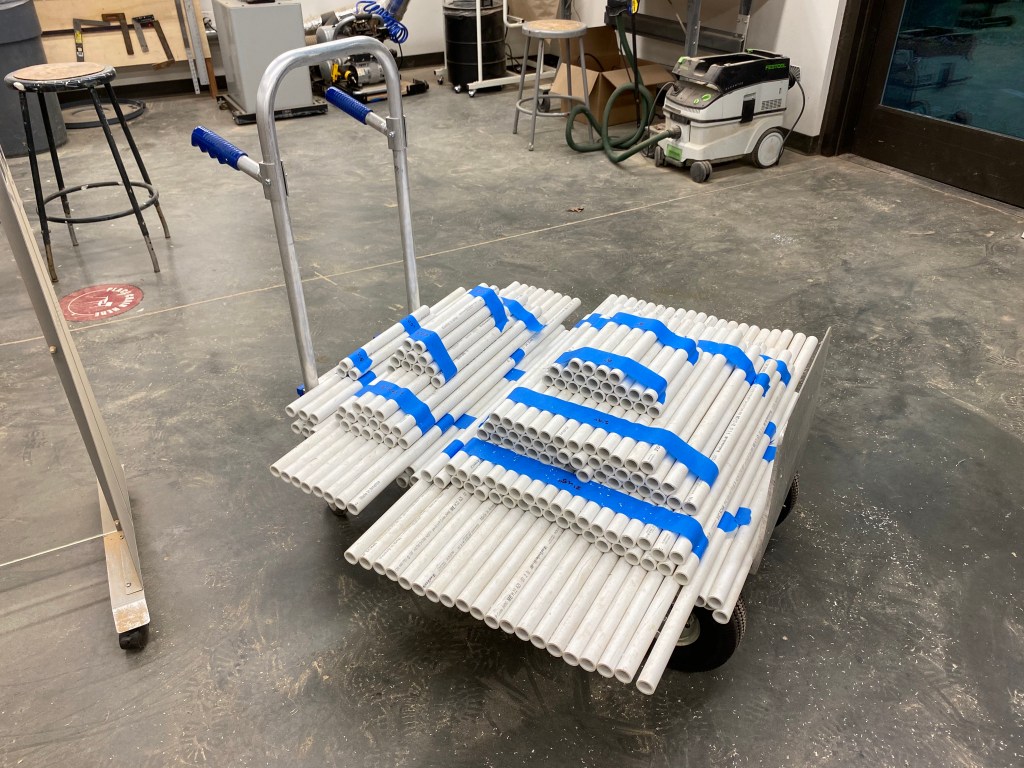
…and arranged for future assembly.
…and transported to the engineering building.
…and front side to have a white trim.
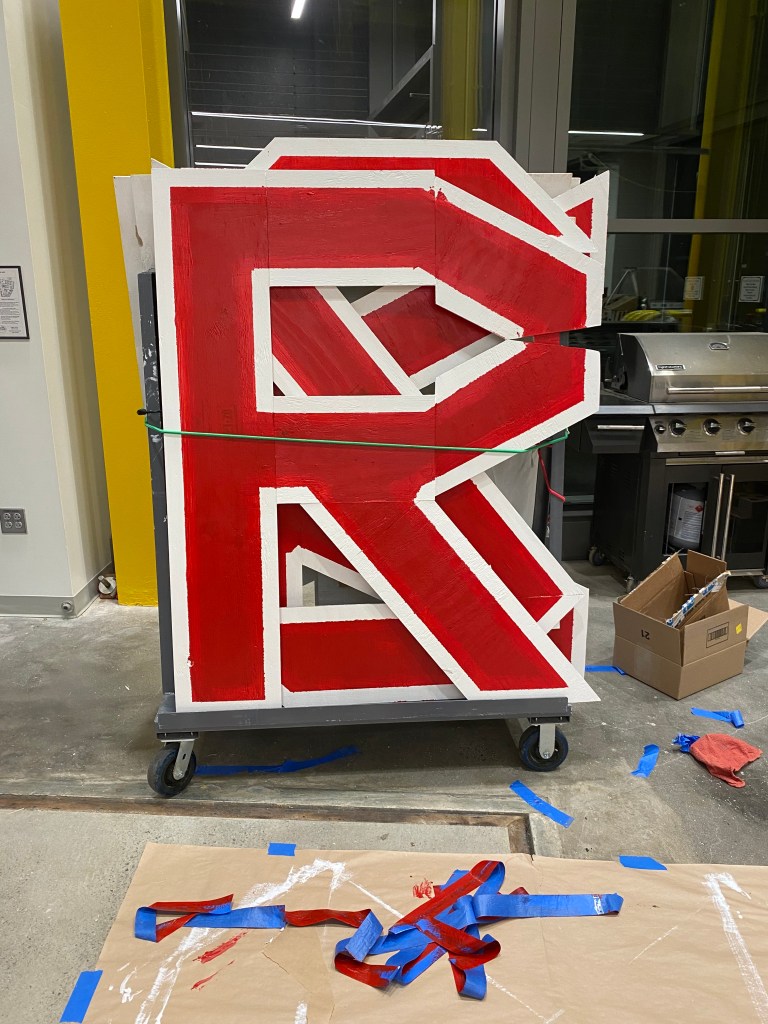
…temperatures, the red lettering was finished.

…was set into place after assembly. As the…

…THANK YOU ESSENTIAL WORKERS.
joshvandervelde@gmail.com | 315-261-8478
